基于vue组件实现web端页面调用摄像头拍照

摘要:
  基于vue组件化方式实现PC web端页面调用摄像头拍照功能,测试是在chrome浏览器的环境下.

1.封装TakePhoto 组件,组件里面暴露出始化摄像头,拍照并且返回拍照后图片的base64码的方法

TakePhoto 组件的全部代码如下:

1
2
3
4
5
6
7
8
9
10
11
12
13
14
15
16
17
18
19
20
21
22
23
24
25
26
27
28
29
30
31
32
33
34
35
36
37
38
39
40
41
42
43
44
45
46
47
48
49
50
51
52
53
54
55
56
57
58
59
60
61
62
63
64
65
66
67
68
69
70
71
72
73
74
75
76
77
78
79
80
81
82
83
84
85
86
87
88
89
90
<template>
<div class="wrapper">
<video
ref="video"
:width="width"
:height="height"
autoplay
style="width= 100%; height=100%; object-fit: fill"
></video>
<canvas ref="canvas" width="300" height="400" v-show="taked"></canvas>
</div>
</template>
<script>
export default {
name: 'TakePhoto',
props: {
width: {
default: 300 // 不传默认300
},
height: {
default: 400 // 不传默认400
}
},
data() {
return {
video: null,
track: '',
taked: false
}
},
methods: {
init(call) {
this.taked = false
this.video = this.$refs.video
navigator.getUserMedia = navigator.getUserMedia || navigator.webkitGetUserMedia || navigator.mozGetUserMedia
if (navigator.getUserMedia) {
navigator.getUserMedia({ video: true },
(stream) => {
this.track = stream.getTracks()[0] // 通过这个关闭摄像头
try {
this.video.src = window.URL.createObjectURL(stream) // chrome版本<=70
} catch (e) {
this.video.srcObject = stream // chrome版本>70
}
this.video.onloadedmetadata = (e) => {
console.log(e)
this.video.play()
call(true)
}
}, (err) => {
console.log(err)
call(false)
}
)
} else {
call(false)
}
},
takePhoto(call) {
let canvas = this.$refs.canvas
let context2D = canvas.getContext('2d')
context2D.fillStyle = '#ffffff'
context2D.fillRect(0, 0, this.width, this.height)
context2D.drawImage(this.video, 0, 0, this.width, this.height)
let image_code = canvas.toDataURL('image/png')//图片的base64
this.taked = true
call(true, image_code)
if (null != this.track) {
this.track.stop()//关闭摄像头
}
}
},
destroyed() {
if (null != this.track) {
this.track.stop()//关闭摄像头
}
}
}
</script>
<style scoped>
canvas {
position: absolute;
left: 0;
top: 0;
z-index: 1000;
}
.wrapper {
position: relative;
}
</style>
说明: 摄像区域的宽高由外部传入,不传采用默认的值.init()初始化摄像头,takePhoto()进行拍照操作

2.调用TakePhoto组件里面的方法进行拍照

调用TakePhoto 组件的关键代码如下:

1
2
3
4
5
6
7
8
9
10
11
12
13
14
15
16
17
18
19
20
21
22
23
24
25
26
27
28
29
30
31
32
33
34
35
<div>
<TakePhoto class="photo" ref="photo"></TakePhoto>
<div class="takePhoto-btn" @click="handleTakePhoto" {{statusMsg}}</div>
</div>

handleTakePhoto() {
if (this.status === 1) { // 初始化摄像头
this.statusMsg = '查找设备中...'
this.$refs.photo.init((res) => {
if (res) {
this.status = 2
this.statusMsg = '拍照'
} else {
alert('未发现设备')
}
}) // 初始化摄像头
} else if (this.status === 2) { // 拍照
this.$refs.photo.takePhoto((res, img) => {
if (res) {
this.status = 3
console.log(img)
this.statusMsg = '重新拍'
}
})
} else if (this.status === 3) { // 重新拍
this.$refs.photo.init((res) => {
if (res) {
this.status = 2
this.statusMsg = '拍照'
} else {
alert('未发现设备')
}
}) // 初始化摄像头
}
}
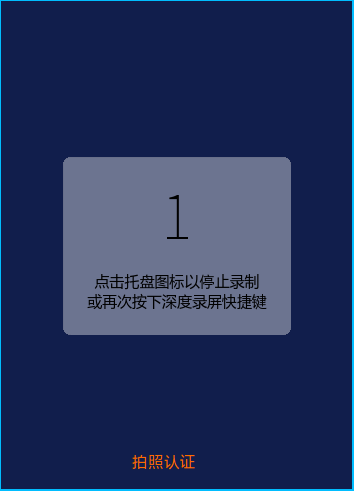
说明:组件中定义statusMsg和status两个变量,statusMsg主要是改变整个流程中状态信息的提示,status是对应的状态码.

3.实际效果图